In the modern age, photos and videos have become two of the integral parts of social media platforms. With current algorithms, even a mere quality upgrade can affect the post’s reach. And, we’re not talking about how the photographer captured the moment. Instead, the focus is on how the editing work has been done to transform a raw capture into an astonishing one. It’s no surprise that quality captures are the essential pieces of an Instagram strategy. Fortunately, one does not have to be a pro at photography to produce astounding images for your Instagram channel.
All you require is a smartphone camera and a few hands-on editing tools. And, with little practice, you can hone the skill of making it look welcoming. This blog will guide you through essential photo editing steps to grow and establish your brand aesthetics and audience. So, what are you waiting for? Save a couple of pictures and follow this guide to learn something more than editing. Here we go!
1. Begin with a quality shot
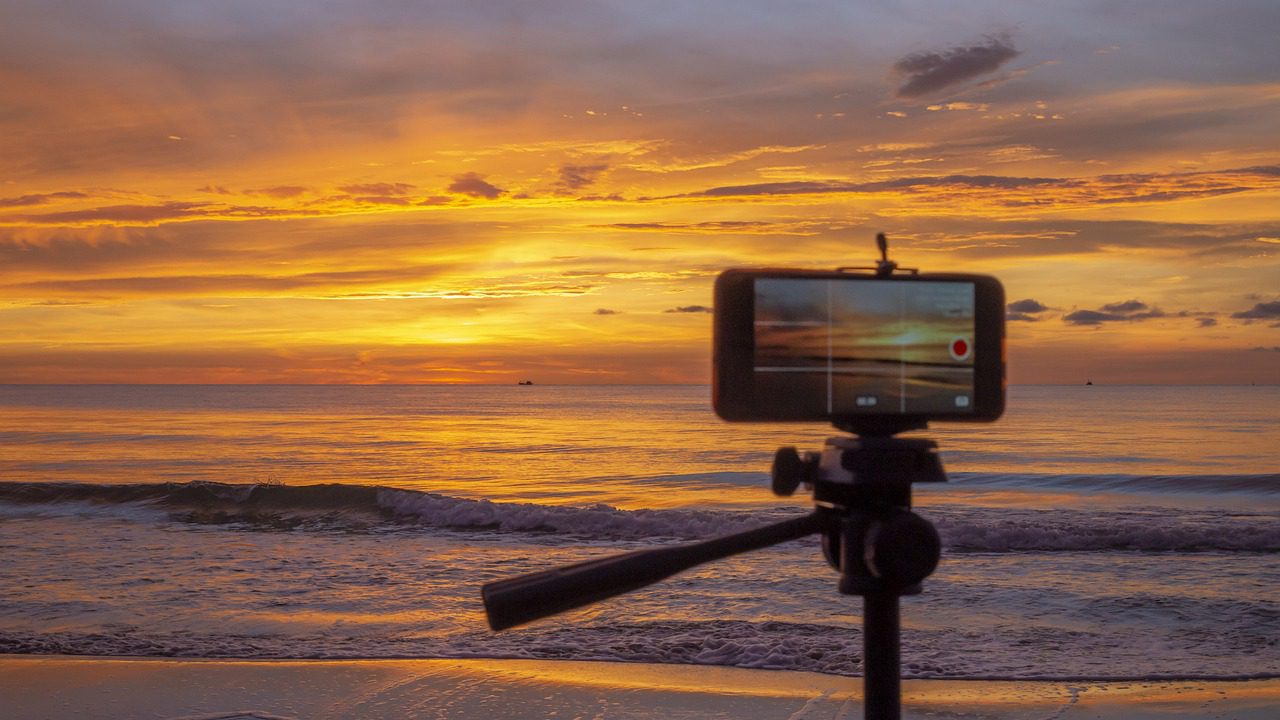
The conclusive shortcut to developing a fantastic Insta post is beginning with quality pictures. Try to shoot in natural daylight and take a handful of snaps. That is because you will have various options to select from. If you have stock photos, a lot can be done on that as well. All you need is a scope to work through editing. In the end, experts recommend starting with pictures that are ideal for Instagram. If the image is too small, it may have grains and become blurry for every viewer.
2. Choose your filter
When it comes to filters, it mainly depends on individuals. Just like ice-cream flavors, multiple people may have numerous choices. According to one of the studies, the most suitable Instagram filter is Clarendon. This filter offers highlighting effects and brightening that can flatter most images. Furthermore, you can adjust the filter intensity by tapping it the second time and then adjusting its sliding scale from 0-100 (no effect-full effect).
Once you have administered your favorite filter, utilize it on all the posts and establish an aesthetic feel for all your feeds. In such a way, you can build a brand identity of your own.

3. Adjust the Lux setting
Once the filter is ready, consider adjusting your lux settings by clicking over the sun icon that you can find above the picture. Lux tends to adjust the exposure and contrast of images while adding dimensions and making every feature of the picture pop. Such a setting acts like a contour, but for your pictures. This isn’t for your face. Well, if you did not know, such a setting is specifically valuable to enhance underexposed photos.
4. Adjust your other settings
When you’re done with the third step, move further by tapping the edit button towards the bottom-right to make specific adjustments in other settings. Experts always check the alignment of their pictures. And, if you are someone who doesn’t like to get crooked by the painting hanging on the wall, you should try that too. Other settings enable you to create custom filters. Through these, you can:
- Add vignette effects for a Polaroid-like image.
- Adjust structure settings to enhance sharpness and contrast.
- Scale-up saturation levels for vivid colors. One can also tone it down to develop faded effects.
5. Tweak specific photos in multi-image posts

If you’re one of those Instagrammers who share multiple pictures in one post, consider editing each one separately. Moving on, tap the icon of the photo to pop up individual editing options. In case you do not adhere to this option, Instagram will automatically apply your editings to every photo in a similar way. If the pictures were captured in various conditions or feature several subjects, consider editing them.
6. You can post to Instagram now, or save it for later.
You don’t feel like posting the pictures right now? Well, that is entirely fine. When you click to post the picture, just before that will be an option to go back. Post this, click back to the edited photo and press your back arrow down. Instagram will send an action to get two options, save your image as a draft with all your edits or cancel. So, the next time you decide to post a new picture, the saved draft will show in front of you. Such an option allows you to pre-edit several photos and post as and when you’re ready.
Parting Thoughts
Well, even though you’re a beginner and don’t know how to make ends meet when it comes to editing Instagram-specific pictures, consider the mentioned steps. All you have to do is go through each step and understand how to deal with specific methods. Once you’ve mastered these, the sky’s the limit for you.
Featured Image Credits: Pixabay