The value of your product and trustworthiness is based on how people judge the brand. And, when it comes to the brand, everything is about visual presentation and quality of the product photography. Not only is high-quality product photography important for brand exposure, but also the storytelling through which you lure a buyer into buying that product. However, not every business can afford a professional photography gig, especially when they have just started. So, why not go for DIY photography?
DIY photography can offer an ideal alternative if you keep the techniques and tools in mind while taking compelling product shots. So, let’s dive in and understand how to build such a skill set.
Product Photography Tips
What you’ll require:
- A tripod
- A camera
- White bounce cards (foam board)
- A white background
- Tape
- A table
- The right room
Some recommendations for product photography:
- Set up your sweep.
- Set up your table.
- Set up the product amid a specified surface.
- Set up your camera.
- Take the picture and evaluate.
- Set up your reflector card.
- Get your pictures retouched.
But, it’s not aesthetics we’re talking about. Displaying your products with quality pictures can be a significant difference between a no-sale and a conversation. This can be specifically true when you distribute products on marketplaces like Amazon, where every image flashes alongside your competitors. Speaking of which, the perceived product values are directly impacted by the product’s photography. As a store or business owner with narrow startup roots, money can be a crucial factor. So, if that’s you and you have a stringent budget, what about trying your hands on DIY photography?
So, let’s go through everything you need to know.
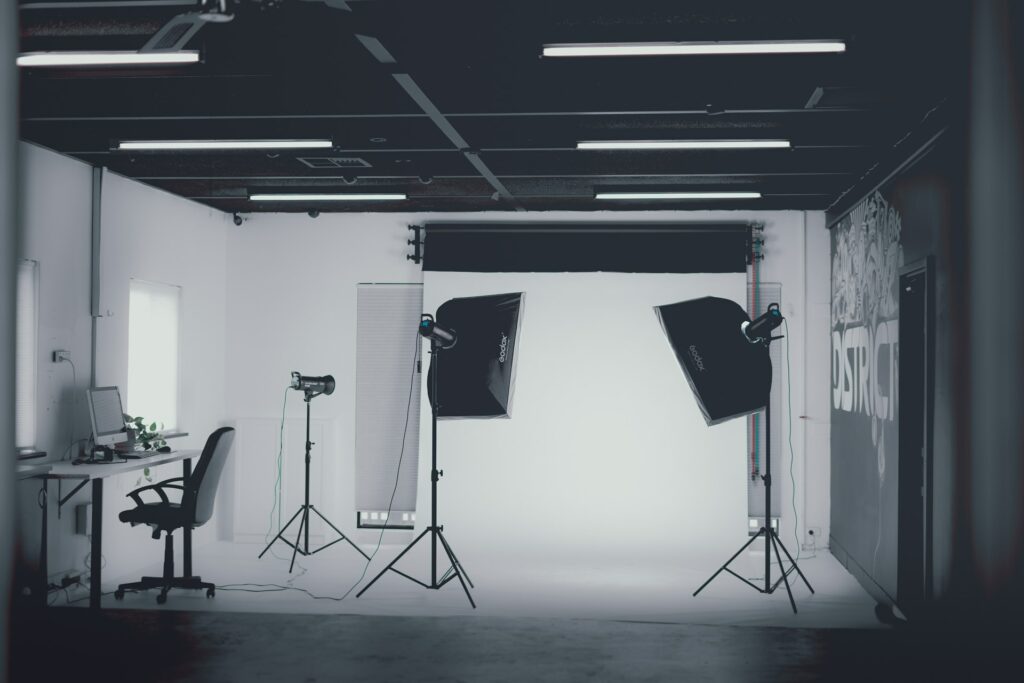
Equipment you’ll need
Photography equipment is the heart of such activity. Not only can this be exciting but also confusing at first. And, when you’re someone new who wants to get the photography work done, many photo studios can lure you with their work. You can perhaps choose to avoid this situation and plan everything well.
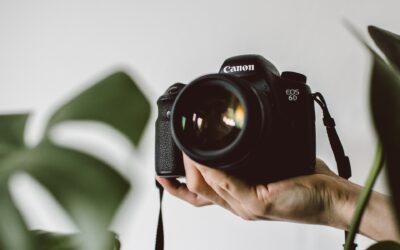
1. Camera
For DIY product photography, you don’t require a crazy camera setup. While shooting pictures with a standard Nikon camera, you need to determine the level at which the camera can work. But, if you have a budget and want to buy one for yourself, check Quora for comments and suggestions. And, if you only have a smartphone, that can work too. Ideally, it would be fair for you to begin with any equipment at your disposal. A camera at the end of the day is only a piece of equipment. Instead, it depends on how a user handles and works with the equipment.
2. Tripod
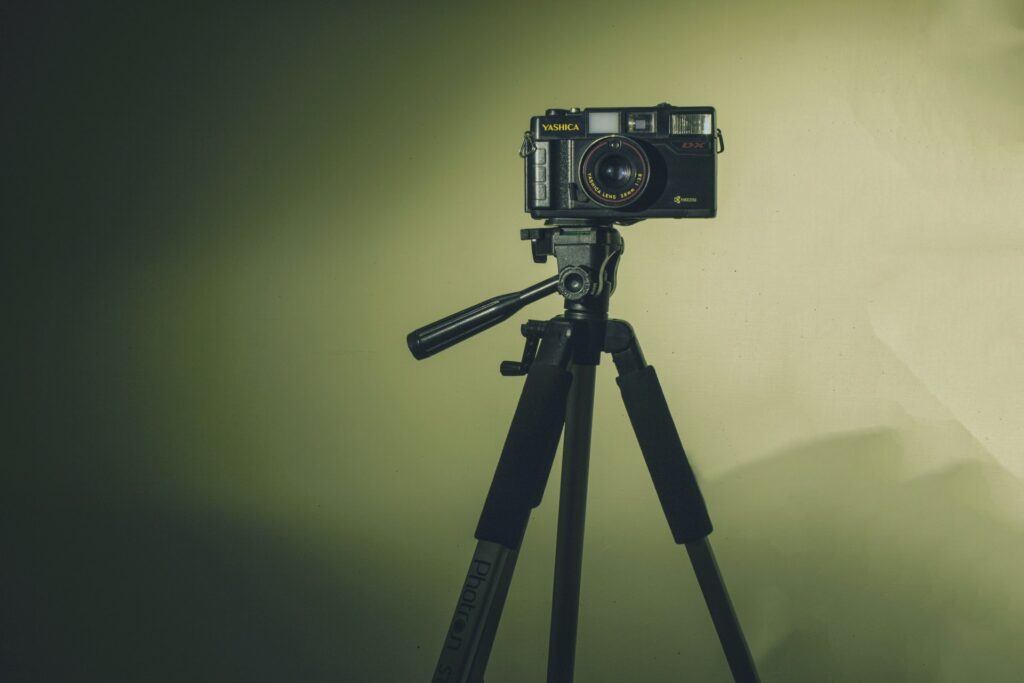
This may sound too technical, but you would want to pace your camera on a very small aperture to take a picture with the most field depth. Well, this also depends on the camera. But, when you go up to this level, the lens might become sensitive to movement. That is why it is essential to have a tripod to stabilize the camera movement. When a camera shoots with a slow shutter speed, you won’t handhold it and click a seamless picture. There will be blurry moments. So, get home a standard tripod that can offer rotation, height extension, and clippings to customize the height, movement, and angle. A tripod should not cost you more than $30.
3. White background
Products look best when shot in front of a white background. And, if that is the case with you, buy a white sweep from Amazon or any offline store located near you. And, if you’re sceptical about white sweeps, look for a paper sweep. Remember, white ones can get dirty. And, when you choose a paper one, consider clipping the dirty ones and rolling a new piece down.
4. White bounce cards
While lighting with the window light, you need to ensure some things. You will experience a shadow side and a bright light striking the product. The shadow end can be quite dark in such a scenario. Consequently, getting a white bounce card is essential to reflect the light into the shadow. Are you wondering what makes foam boards ideal for light bounces? It is because they are white and rigid.
5. Table
For a product photography gig, you might require a standard 24-27-inch wide folding table.
6. Tape
Tape can be a crucial element of your nest. Depending on the table you choose, you can utilize clamps and tapes to secure the board to sweep it properly.
7. The right room
Did you know that a room with windows is ideal? And, windows in a room with walls around are super. The more significant the window, the more natural light will seep in. Being a bit closer to the window can create a softer light assisted by softer, darker shadows.
Featured Image Credits: Pixabay