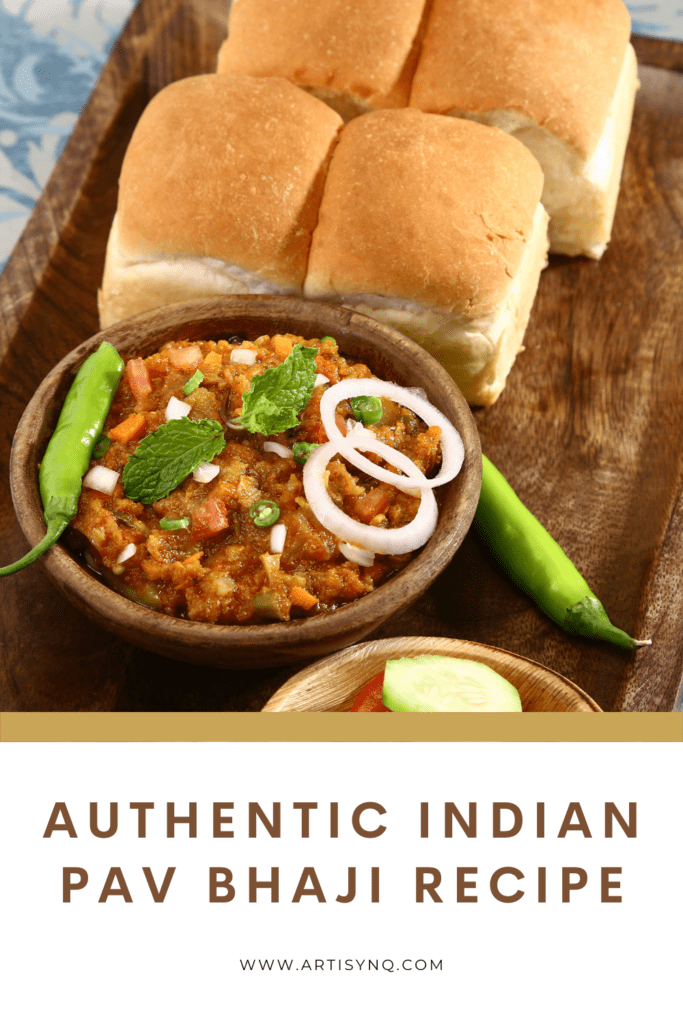
Pav Bhaji is a total crowd-pleaser with its mouth-watering flavours. One just can’t stop themselves from eating this spiced vegetable mix alongside soft buttery rolls.
Origins of Pav Bhaji
Do you ever wish you knew the backstory behind a dish you ate?
There are many delicacies to taste in Mumbai’s 233 square meter street food market, arguably more than anywhere else.
The island is a culinary universe packed with gastronomic delights. In keeping with the city’s cosmopolitan reputation, the city’s street food takes on many identities and avatars.
Pav Bhaji is probably Mumbai’s most popular street food dish.
The combination of hot, spicy, and flavourful bhaji, coupled with slivers of lime and crispy onions, accompanied by buttery pavs, just off-the-Tawa, is a street-food classic.
Despite the popularity of the now popular fast food item, very few people know its humble beginnings.
In all likelihood, Pav Bhaji can be considered the first South Asian dish to be associated with the term fast food.
Many incorrectly attribute the origins of this dish to Gujarat, but it was created by the street vendors of Mumbai back in the 19th century.
It was a makeshift fix, not an invention, that gave birth to Pav Bhaji.
Market demand for cotton was extremely high during the American Civil War. As a result, traders and workers were busy at the Bombay Cotton Exchange and in textile mills.
As a result of the time difference, the traders in the United States market would spend dealing in the late hours of the night.
Despite their tireless efforts to meet the growing demand for Indian cotton on European markets, these laborers often went hungry as they had very little time for a decent meal.
Workers typically left early for their shifts and returned late, leaving their wives with little time to prepare a decent meal for their husbands.
The hectic schedules at work and the unpleasant hours took a toll on their everyday meals. Their hunger prompted them to look for options in the area around their workplace.
In response to the increased demand, street food vendors began working such late hours. In the end, however, they could not keep up with demand because of odd hours and a lack of ingredients. It was then that one of the vendors decided to create this unique dish.
Pav Bhaji, the street food we are familiar with today, was born as a result of meeting this necessity of ensuring the man of the house is not hungry while keeping the machines working.
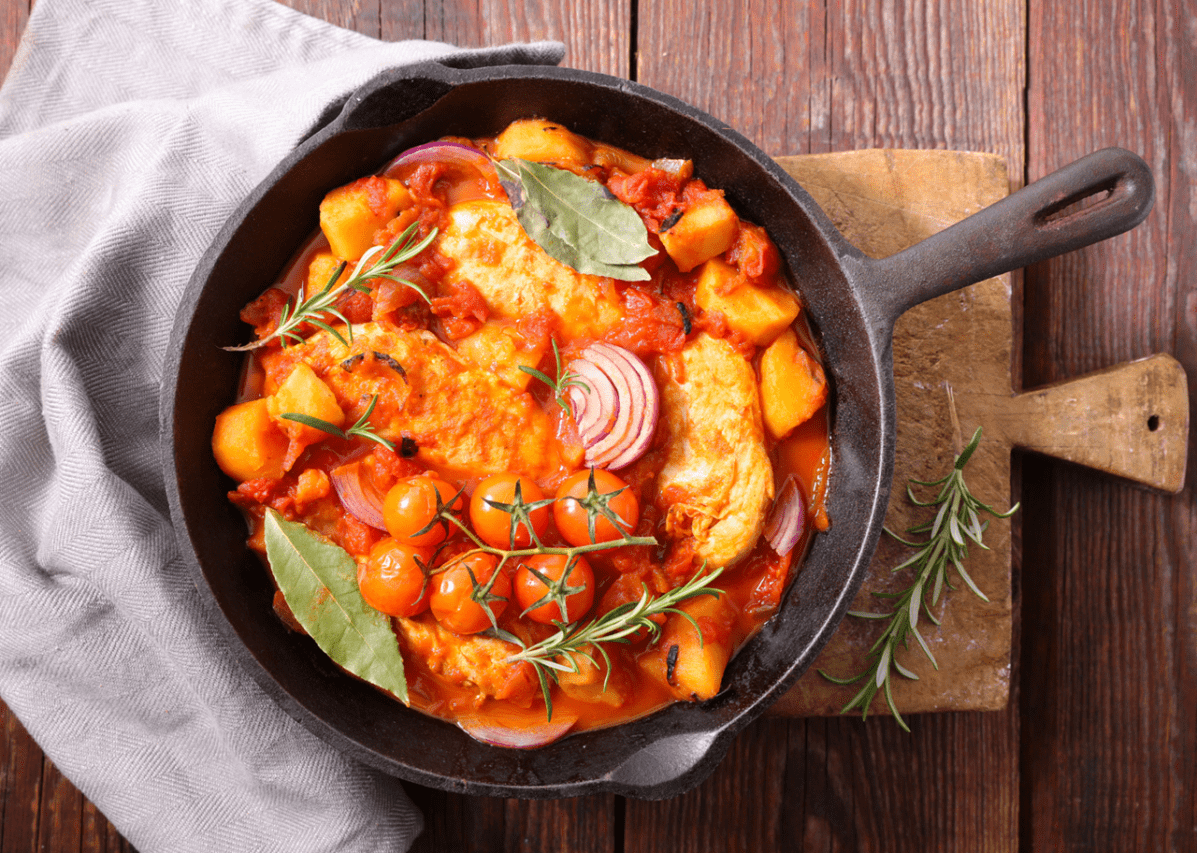
Various vegetables, such as potatoes, onions, carrots, cabbage, green peas, or whatever else was available, were prepared in a peculiar mix of spices and served with leftover soft bread rolls, pavs.
The availability and convenience of Pav Bhaji contributed to its popularity in the city.
Nevertheless, the present-day version of Pav Bhaji only came into the limelight in the late 70s, when the dish gained fast popularity among the Gujarati community in Mumbai, with additional ingredients like butter, cheese, and various chutneys catching up with time.
However, the basic elements of the modern dish – potato, onion, tomato, peas, and occasionally cauliflower or broccoli – remain the same.
Pav Bhaji Recipe
Prep time: 10-15 minutes Cook time: 30-35 minutes Serves: 4
Ingredients:
For Bhaji:
3 boiled and mashed potatoes
1 cup chopped cauliflower
3 finely chopped tomatoes
1 finely chopped onion
½ finely chopped capsicum
¼ cup green peas
2 tbsp butter
¼ tsp turmeric
2 tsp Kasuri methi
1¼ tsp Kashmiri red chilli powder
1½ tsp pav bhaji masala
10-12 chopped french beans
1 tsp ginger garlic paste
3 tbsp finely chopped coriander
Salt as required
Water to adjust consistency
For Pav:
4 tsp butter
8 pav/rolls
Instructions:
- Add the potatoes, green peas, french beans, and cauliflower to a pressure cooker and let it boil for about five to six whistles on a medium flame.
- Once the pressure has released, open the cooker to ensure all the vegetables have been cooked.
- Heat 1 tbsp butter in a large pan on a medium flame and add onions. Saute until they are translucent.
- Now add the ginger-garlic paste and continue to saute till the raw aroma of both goes away.
- Add tomatoes and saute till they turn mushy.
- When tomatoes turn soft, add capsicum and saute for about 2 minutes. (Cook the capsicums till slightly crunchy)
- Add the ground spices, turmeric, Kashmiri red chilli powder, pav bhaji masala, and give it a good stir.
- Add all the cooked vegetables from the pressure cooker and mash the bhaji.
- Add salt according to your taste and add water if the bhaji looks dry. The consistency of the bhaji is neither too thick nor too thin.
- Let the bhaji simmer for about 10 minutes while you stir occasionally. Garnish it with coriander leaves.
- In the meantime, slice the pav in half with one side intact. Spread butter all over the pav.
- On a low flame, place the shallow frying pan and add the pav. Let it absorb the butter on one side, flip it over and repeat.
- Place the cooked pav on a plate. And you are ready to serve. Serve the pav bhaji with sliced onions and lemon wedges.
Featured Image Credits: Unsplash
About the Author

Shristi Patni
Content Writer
Shristi is a content writer and owner of F and B Recipes and Snazzy Women. When not writing, she can be found reading or trying new recipes.